
Note at the time of writing: If you are starting the year virtually, this may not be the time to think of overhauling your physical classroom library. Bookmark this post so you can return to it at a later date. It will still be here!
If you’re like me, figuring out a simple, sustainable way to organize your classroom library feels like an impossibly daunting task. I’ve had two classrooms in my teaching career and have changed how I’ve done it every year. Or, worst case scenario, I’ve chucked the books (gently) into any old basket because that’s all the time I had while moving to a new country/school/classroom.
After having an inoperable classroom library for my first two years in Ecuador, I had experiential evidence for what I was told by experienced teachers: kids need to be taught how to find good books. And if books aren’t organized in a way that they can find topics and genres that they like, they’ll look at you like you’re crazy when you say, “Go find a book to read. There’s plenty there!” This made me sad, because I knew there were lots of treasures available to them if I could just organize them well. I was determined to improve it in these specific ways:
- Organize it and label every. single. book. and corresponding basket/shelf in a SIMPLE way
- Choose a checkout system that would be low-maintenance and would actually be used
- Find some must-have books that I can recommend wholeheartedly to my 5th graders
I’m going to talk about the first point in this post, and save the others for another time.
Before I go any farther, let me clarify: it did take me a fair amount of work to get this ready. But it was worth it because my library stayed organized the entire year without much effort on my part. I would plan on it being more than a one-weekend project, depending on the size of your library. But do stick with it, because it’s worth it.
As mentioned in my previous post, several of the ideas here are based off of Donalyn Miller’s suggestions in her book, The Book Whisperer. However, they’re spin-off ideas, because a person’s gotta work with what they’ve got – and make it work for them.
How to Organize Your Classroom Library
Decide how to shelve your books
There are two main ways people shelve books:
- Levels
- genre/topic
Some schools require teachers to have books shelved according to reading level. If yours does, perhaps you might try sorting into levels and then sort the levels into some basic genres or topics of interest.
If your school doesn’t require a leveled system, I’d like to suggest mine: a combination of genres, authors, series, and topics.
Let me explain:
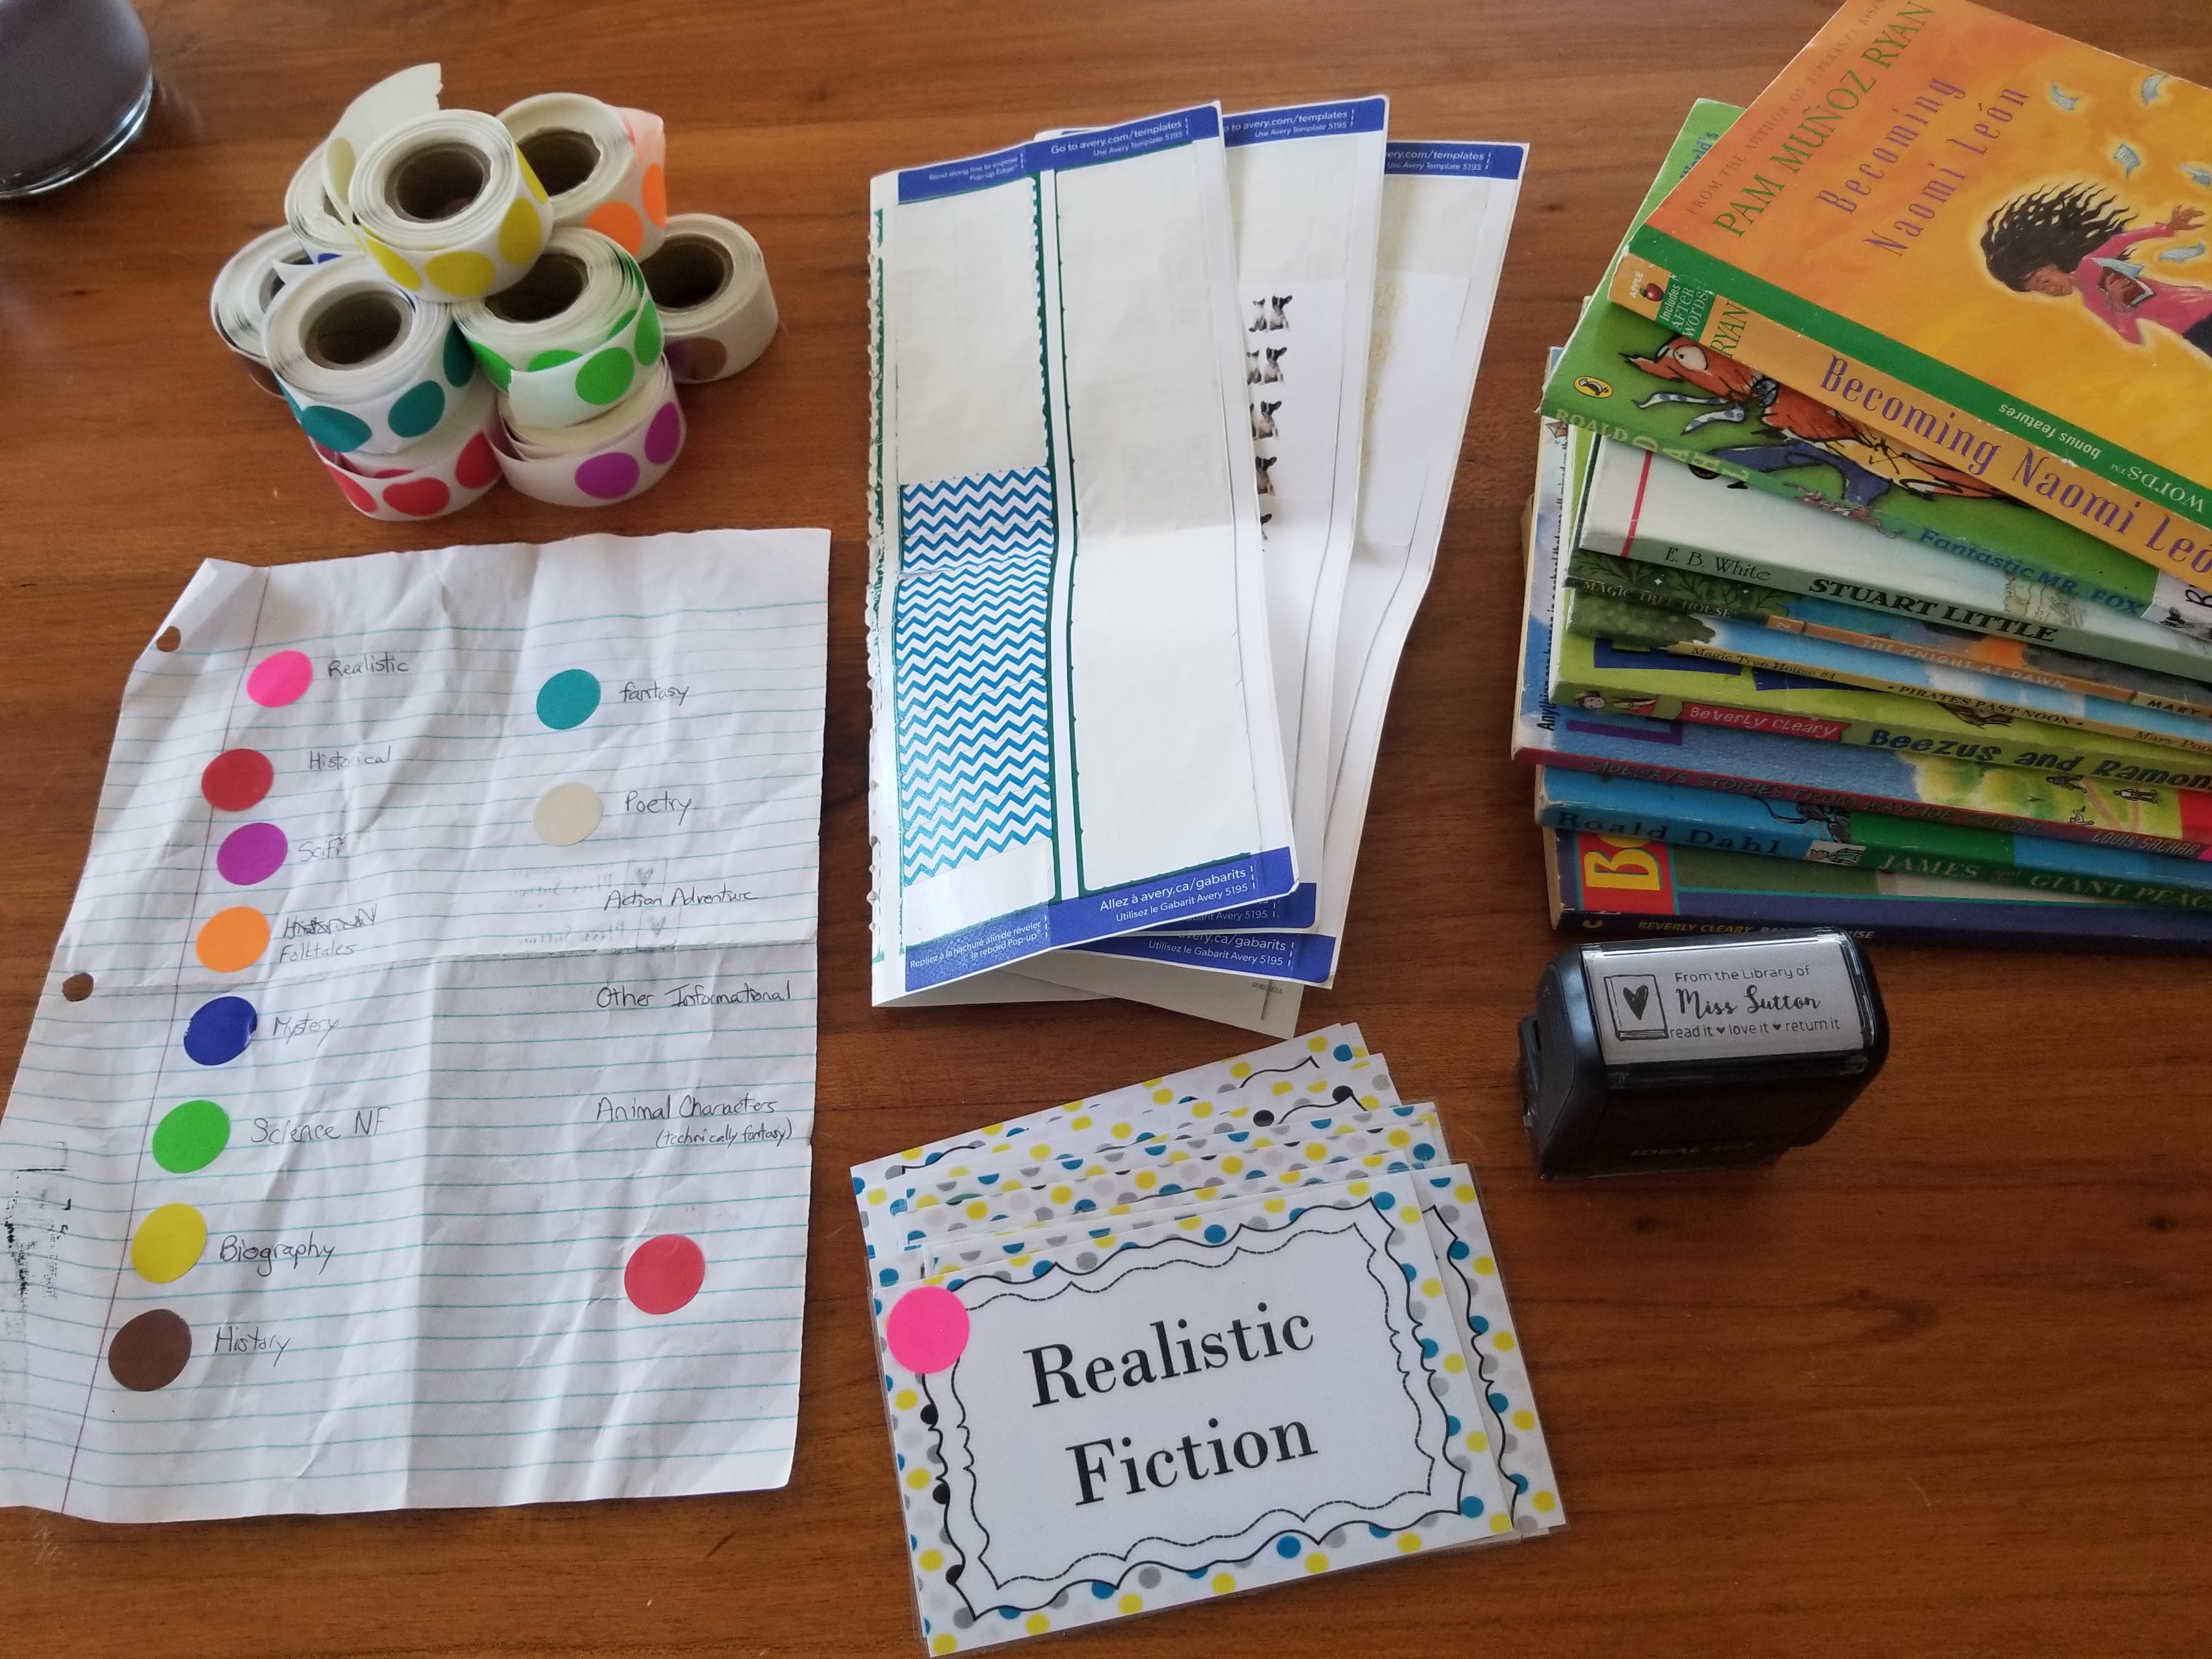
I started by sorting the books into genres and choosing a sticker color for each one. You can tell by the picture right beneath “Supplies” (scroll down) that I used a super high-tech way to create a key for the colors and genres: a piece of notebook paper. Here are the genres I used:
Fiction
- realistic fiction
- historical fiction
- science fiction
- folktales
- mystery
- fantasy
- poetry
Nonfiction
- science
- history
- biography
- other
However, when I started going through my books, I got kinda stuck. What does Stuart Little count as? It’s not exactly fantasy, but it’s not exactly realistic fiction either. For that matter, what do all the Beverly Cleary and Roald Dahl books count as with all of their animal characters?
So I decided to add these other categories:
- Animal Characters
- Action/Adventure
In addition to deciding on that, I had a bunch of books by the same author that I thought were worth highlighting. If you have enough space/baskets, you can stick author collections in baskets. I didn’t have enough space, so I got creative: I put those author collections on the same shelf as their corresponding genres, but with their own labels. But how did I label all the books so that they ended up in the right basket or shelf? Great question! Read on…
Label your books and baskets
This part might seem confusing at first. Stick with me and it should make sense by the end of this section. If it doesn’t, please leave a comment and I’ll do my best to answer!
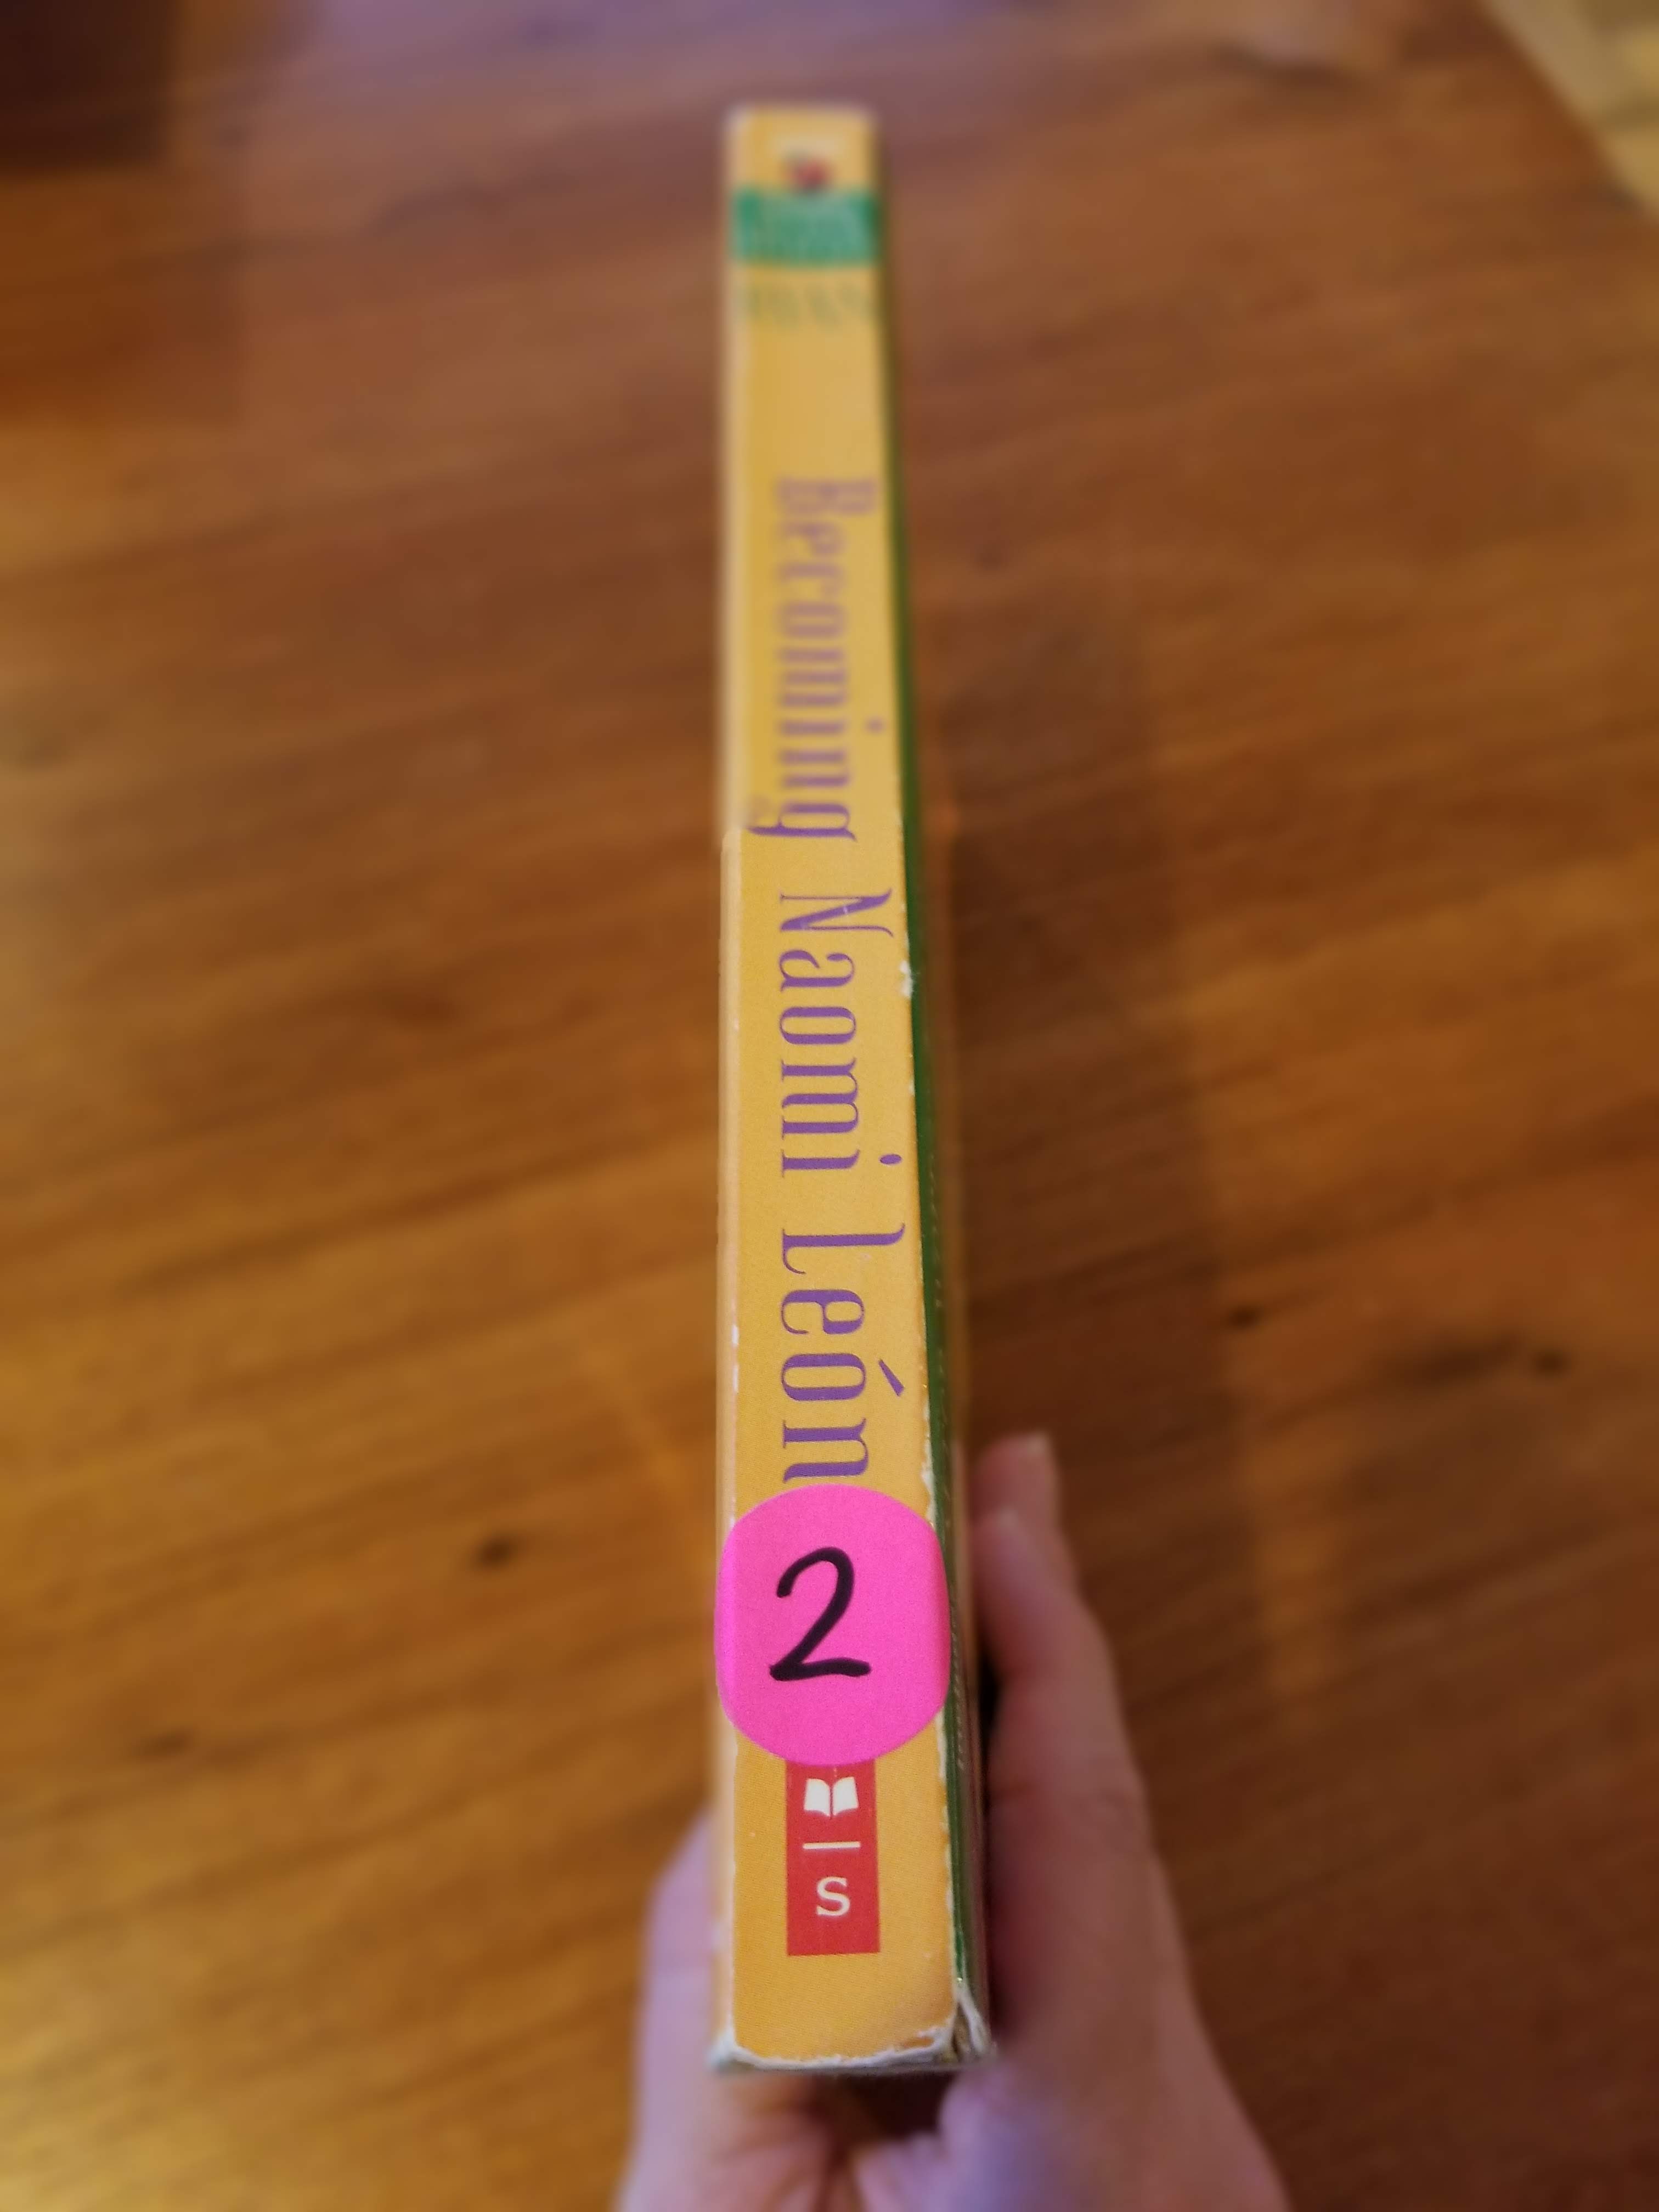
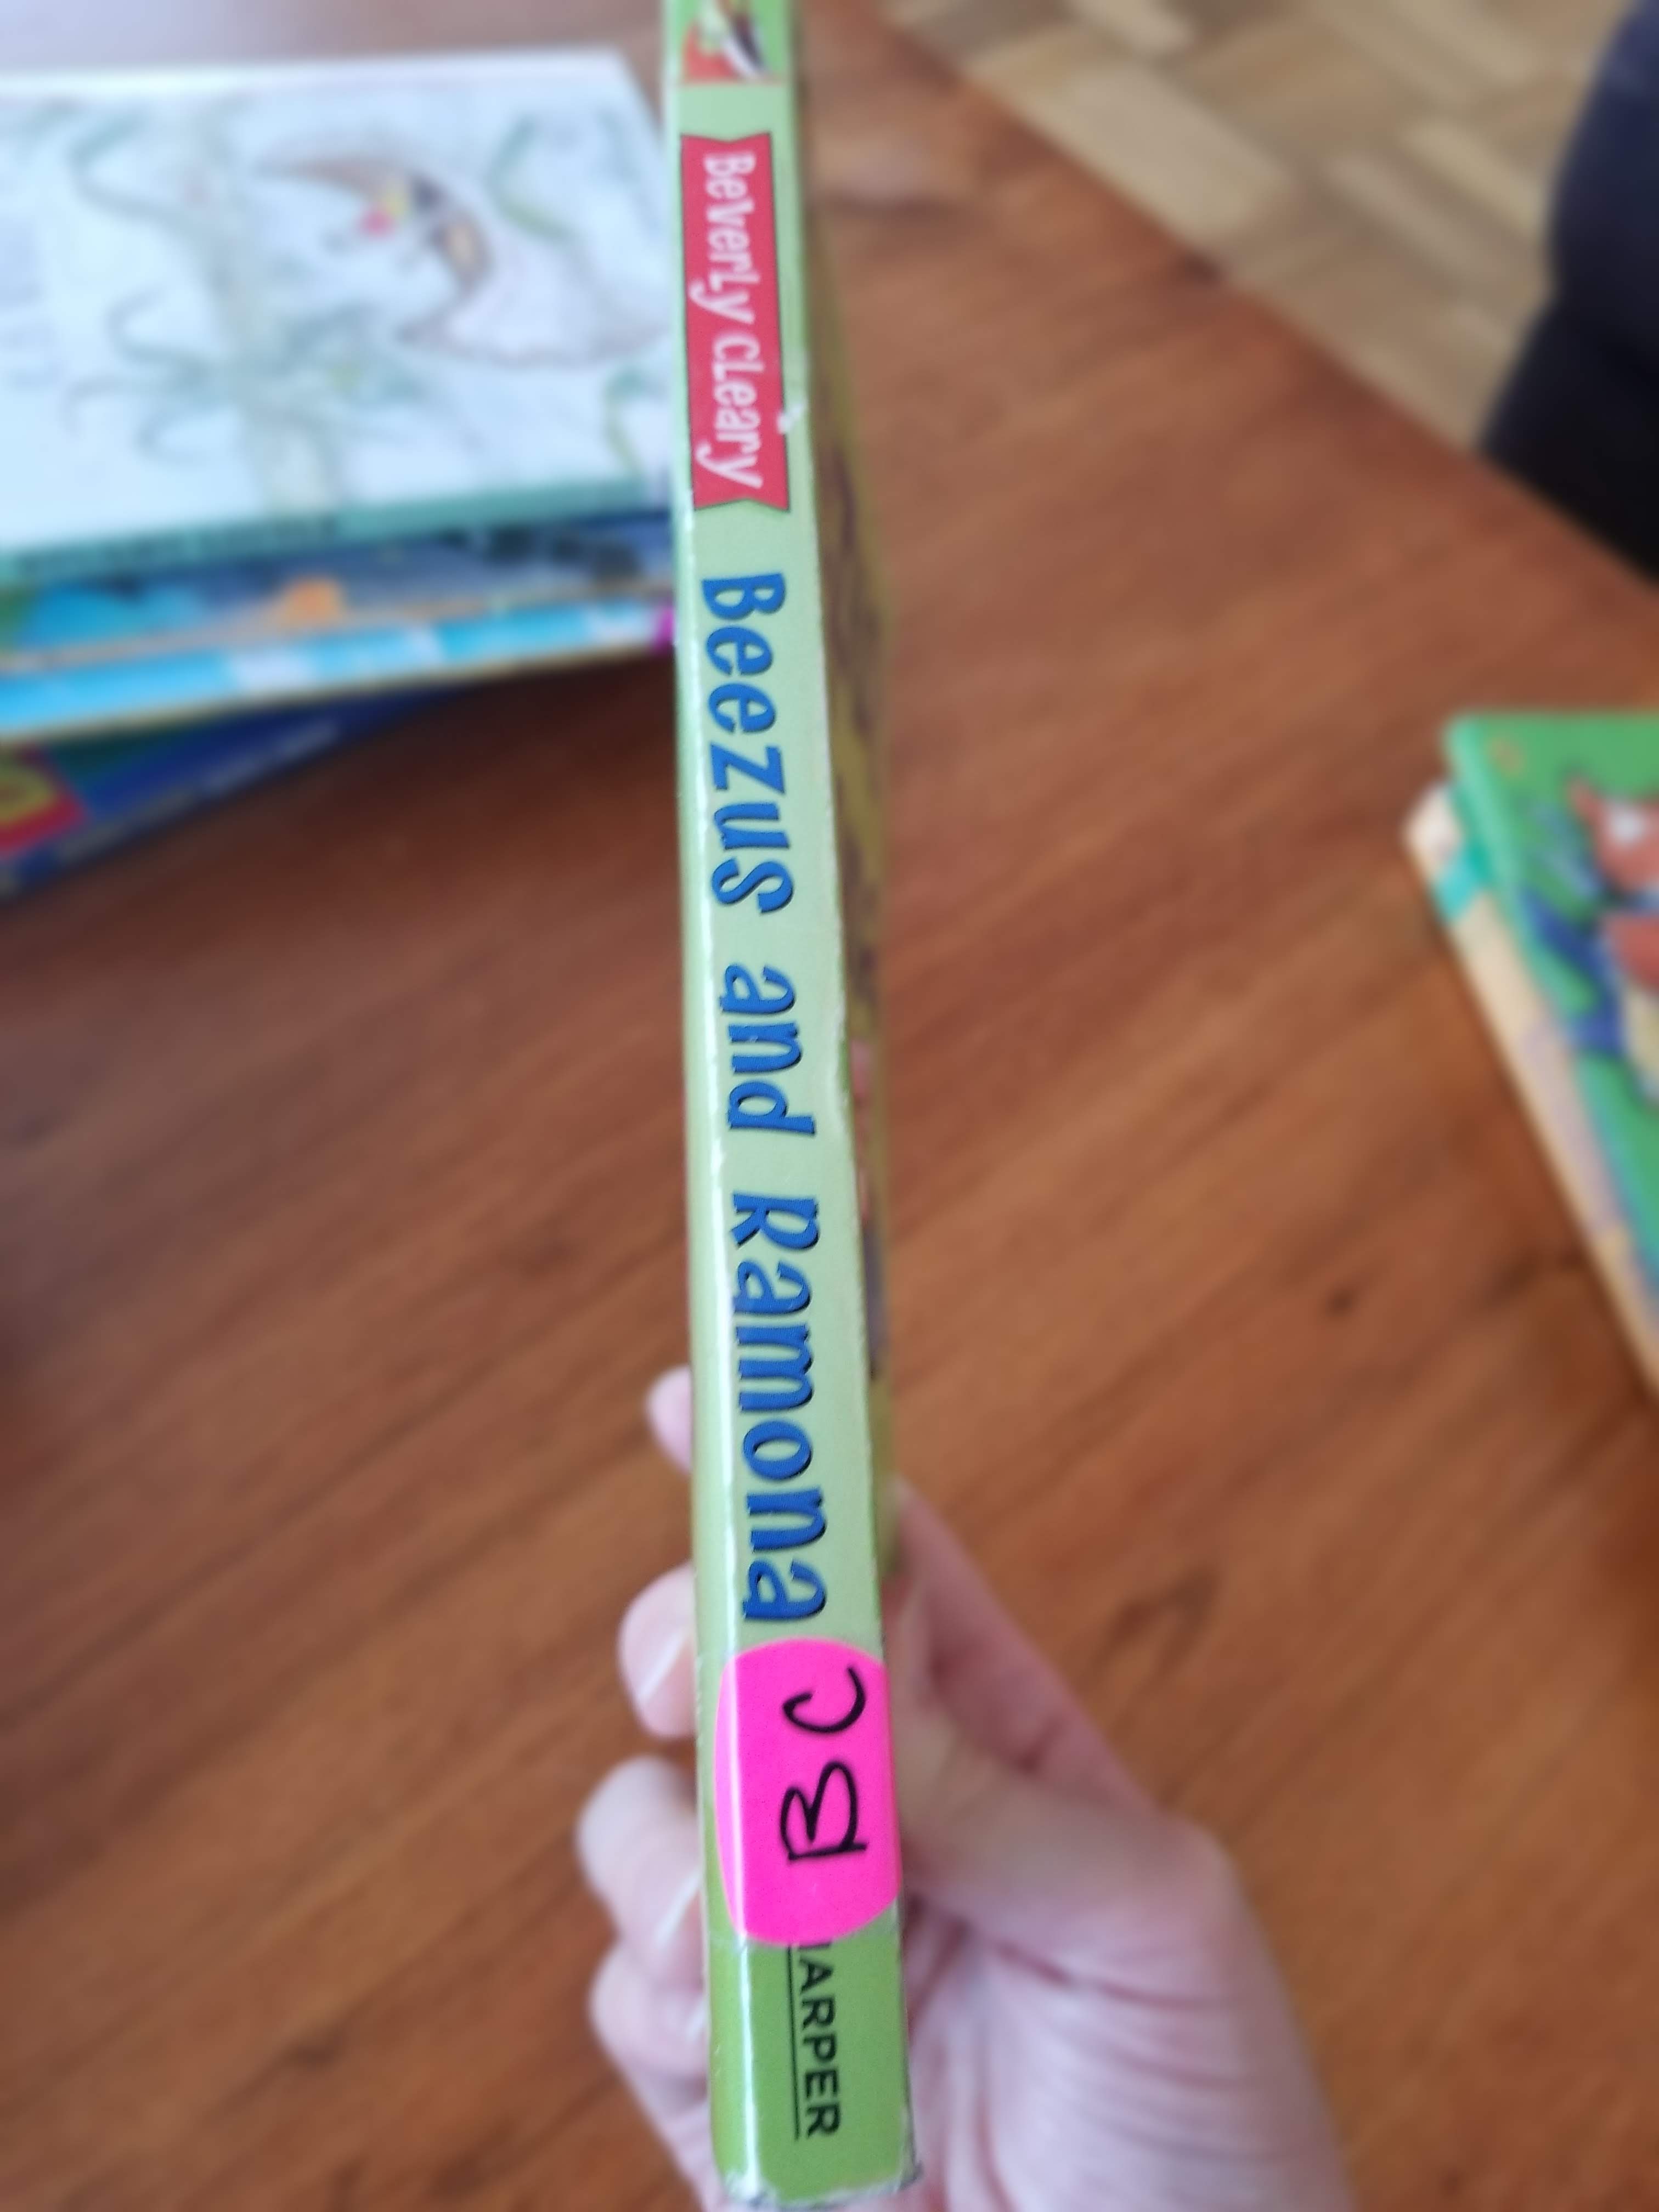
- First, label each book with the corresponding genre color and fill up a basket with that genre/author collection as you go. That way, you’ll know how many baskets you need for each genre and category. I put the book labels down near the bottom on the binding (see bottom left pic). (It was sometimes tricky to figure out what genre a book counted as, if I hadn’t read it before. In that case I used Google and/or my best guess. Genres aren’t as clear-cut as we teachers think they are [e.g. Stuart Little]. Just do your best and it’ll be fine. I promise.)
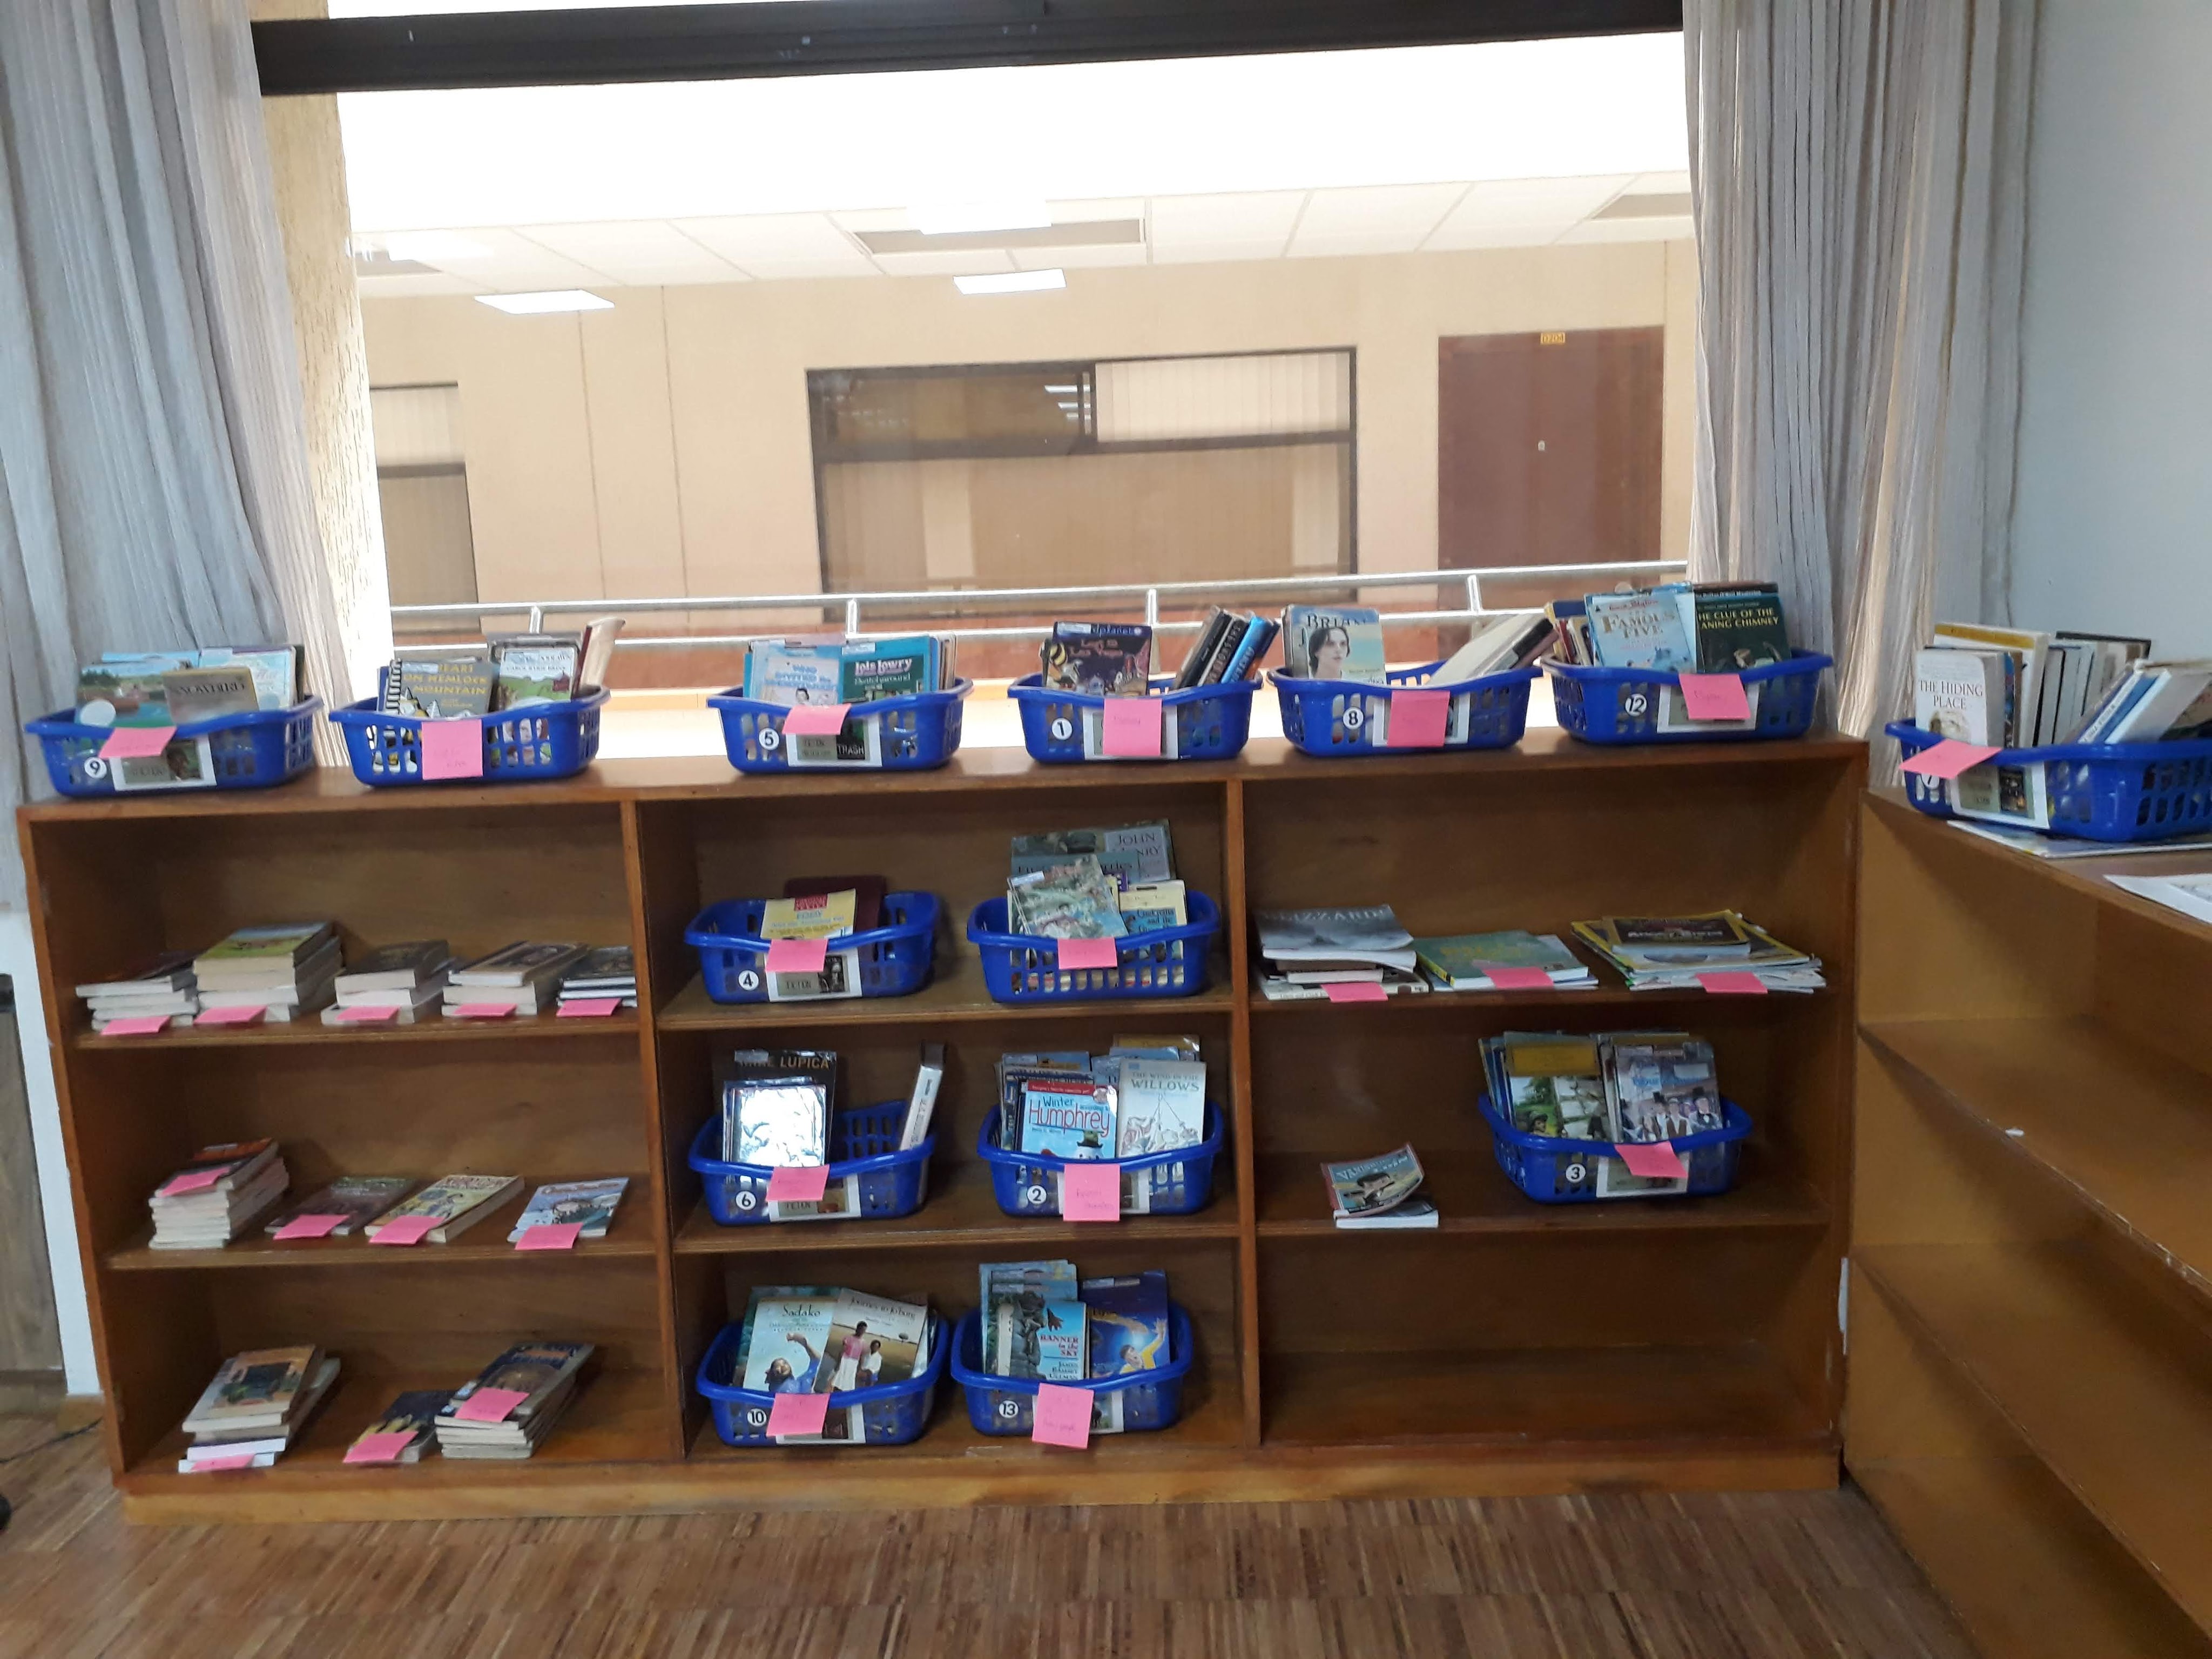
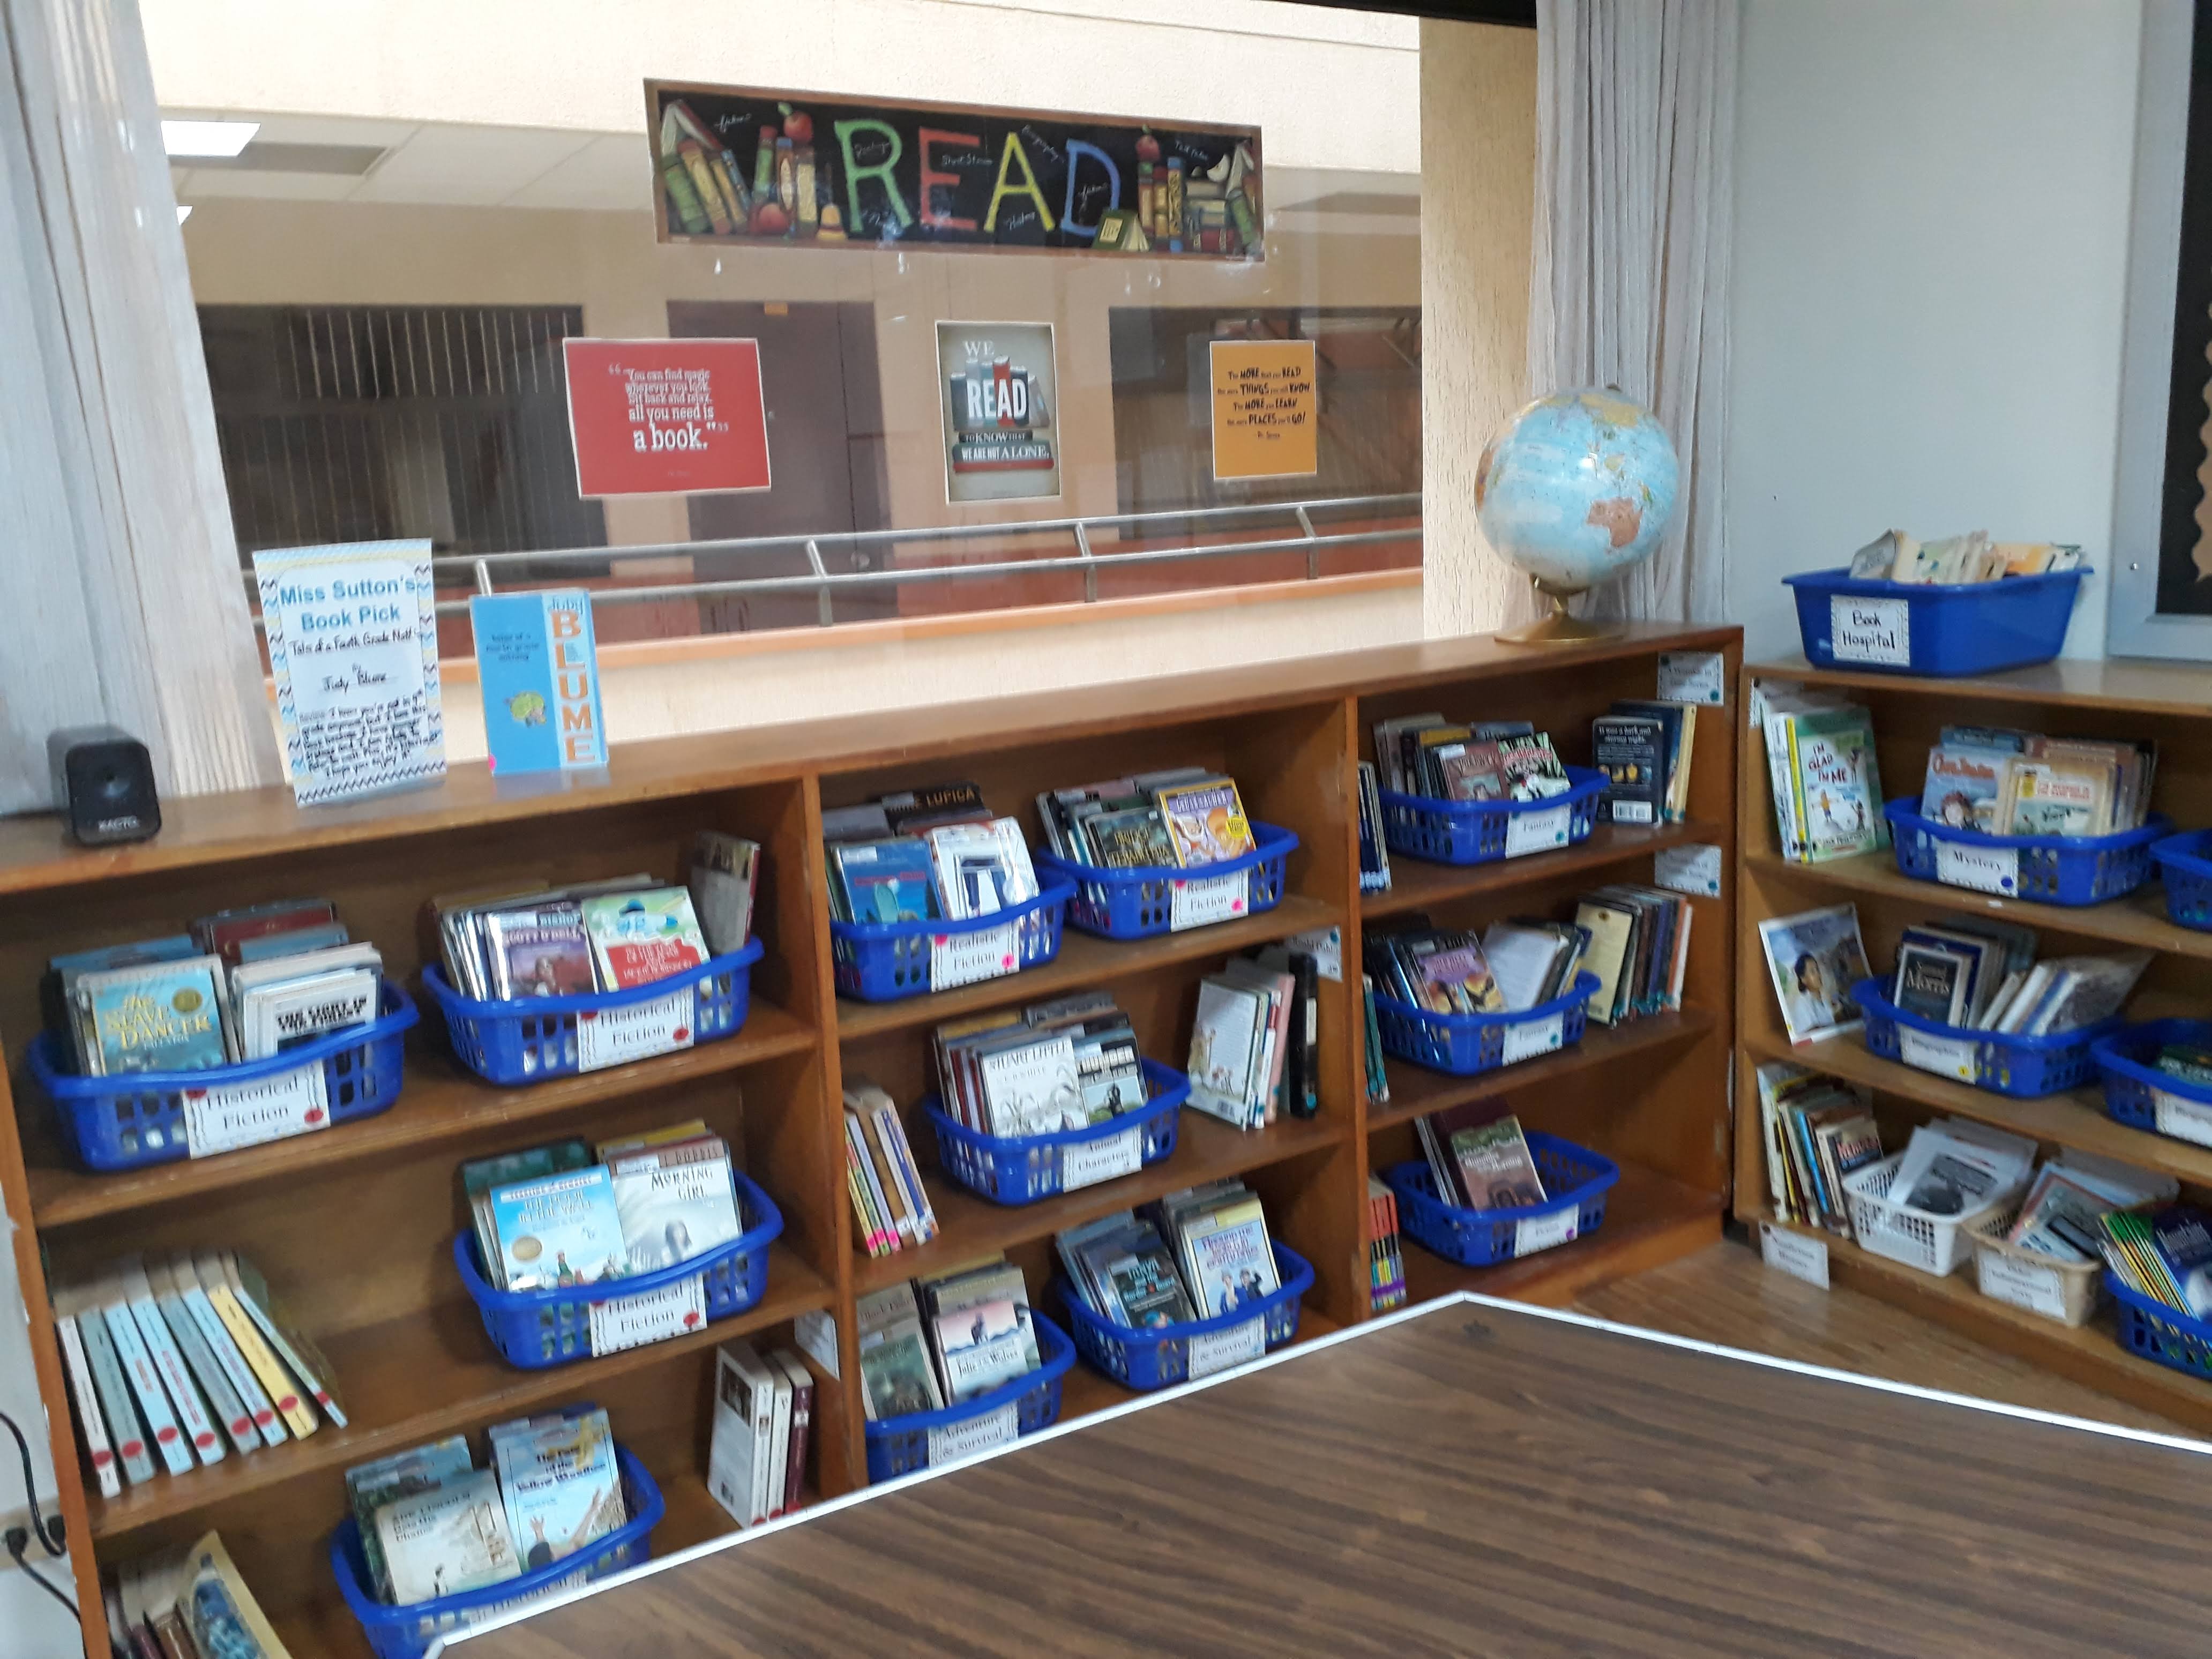
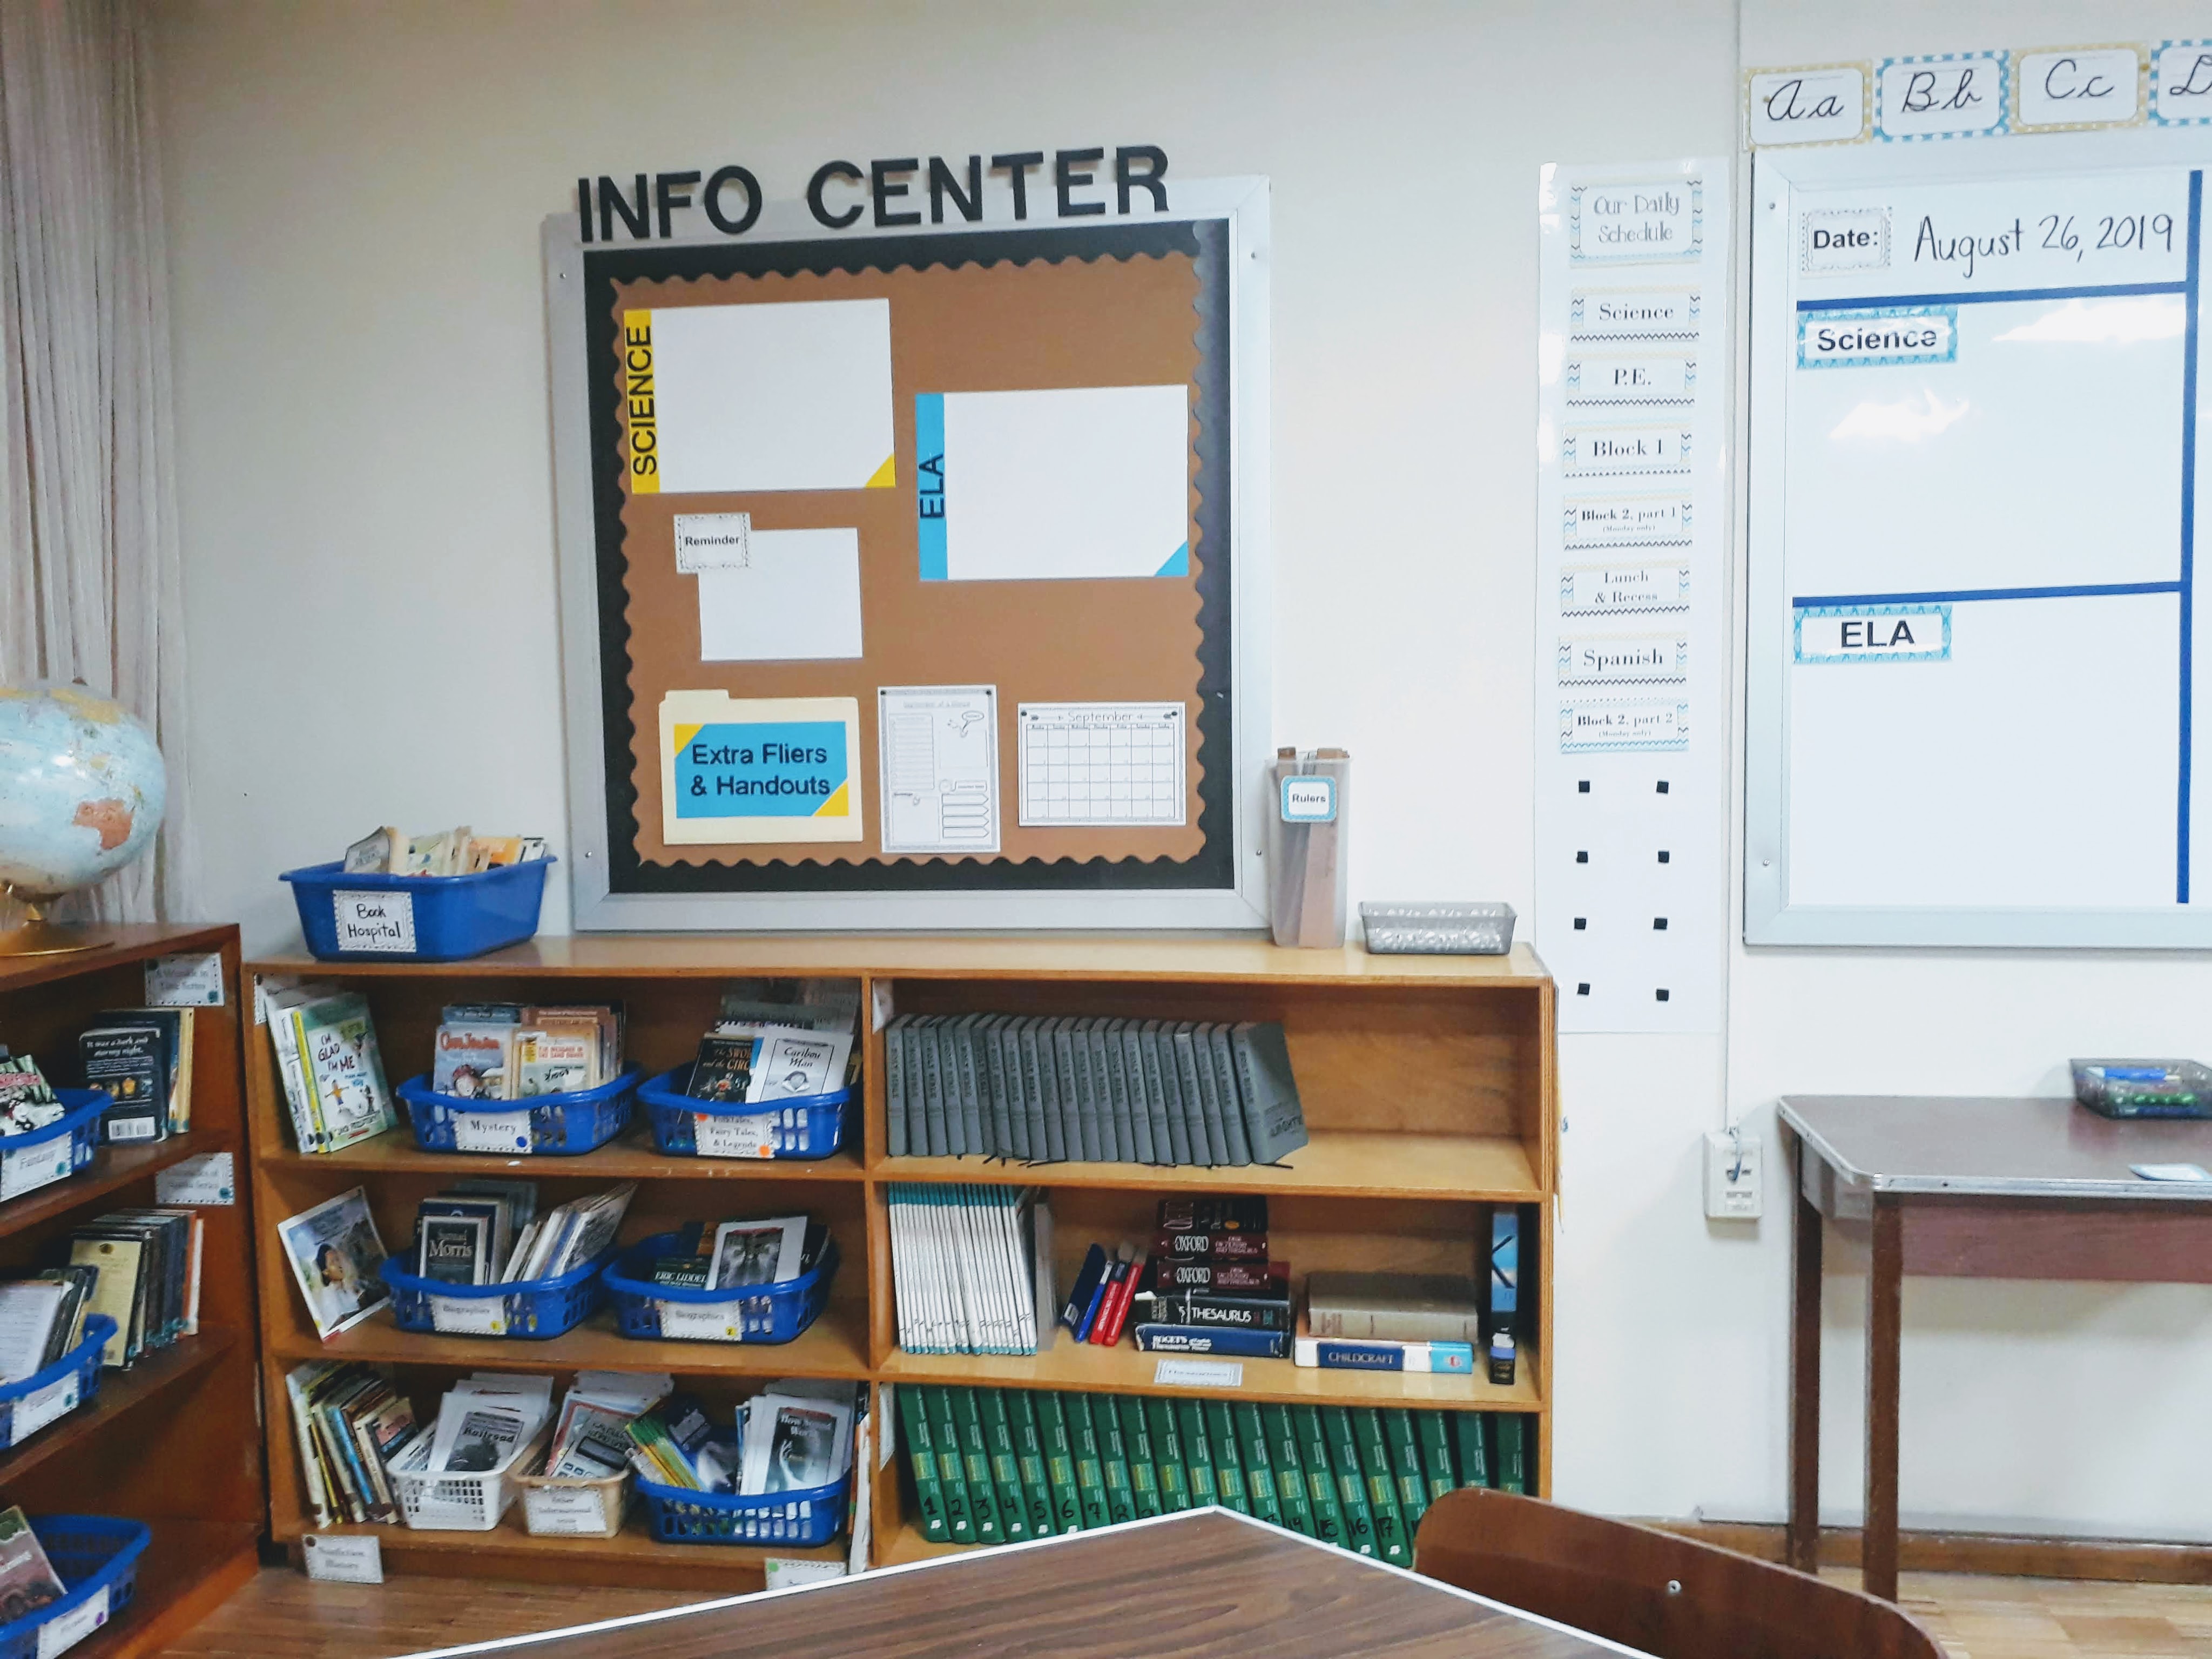
To keep track of which basket is which genre, put sticky notes on the baskets as placeholders, since you don’t have your nice, laminated basket labels ready yet. (see above right)
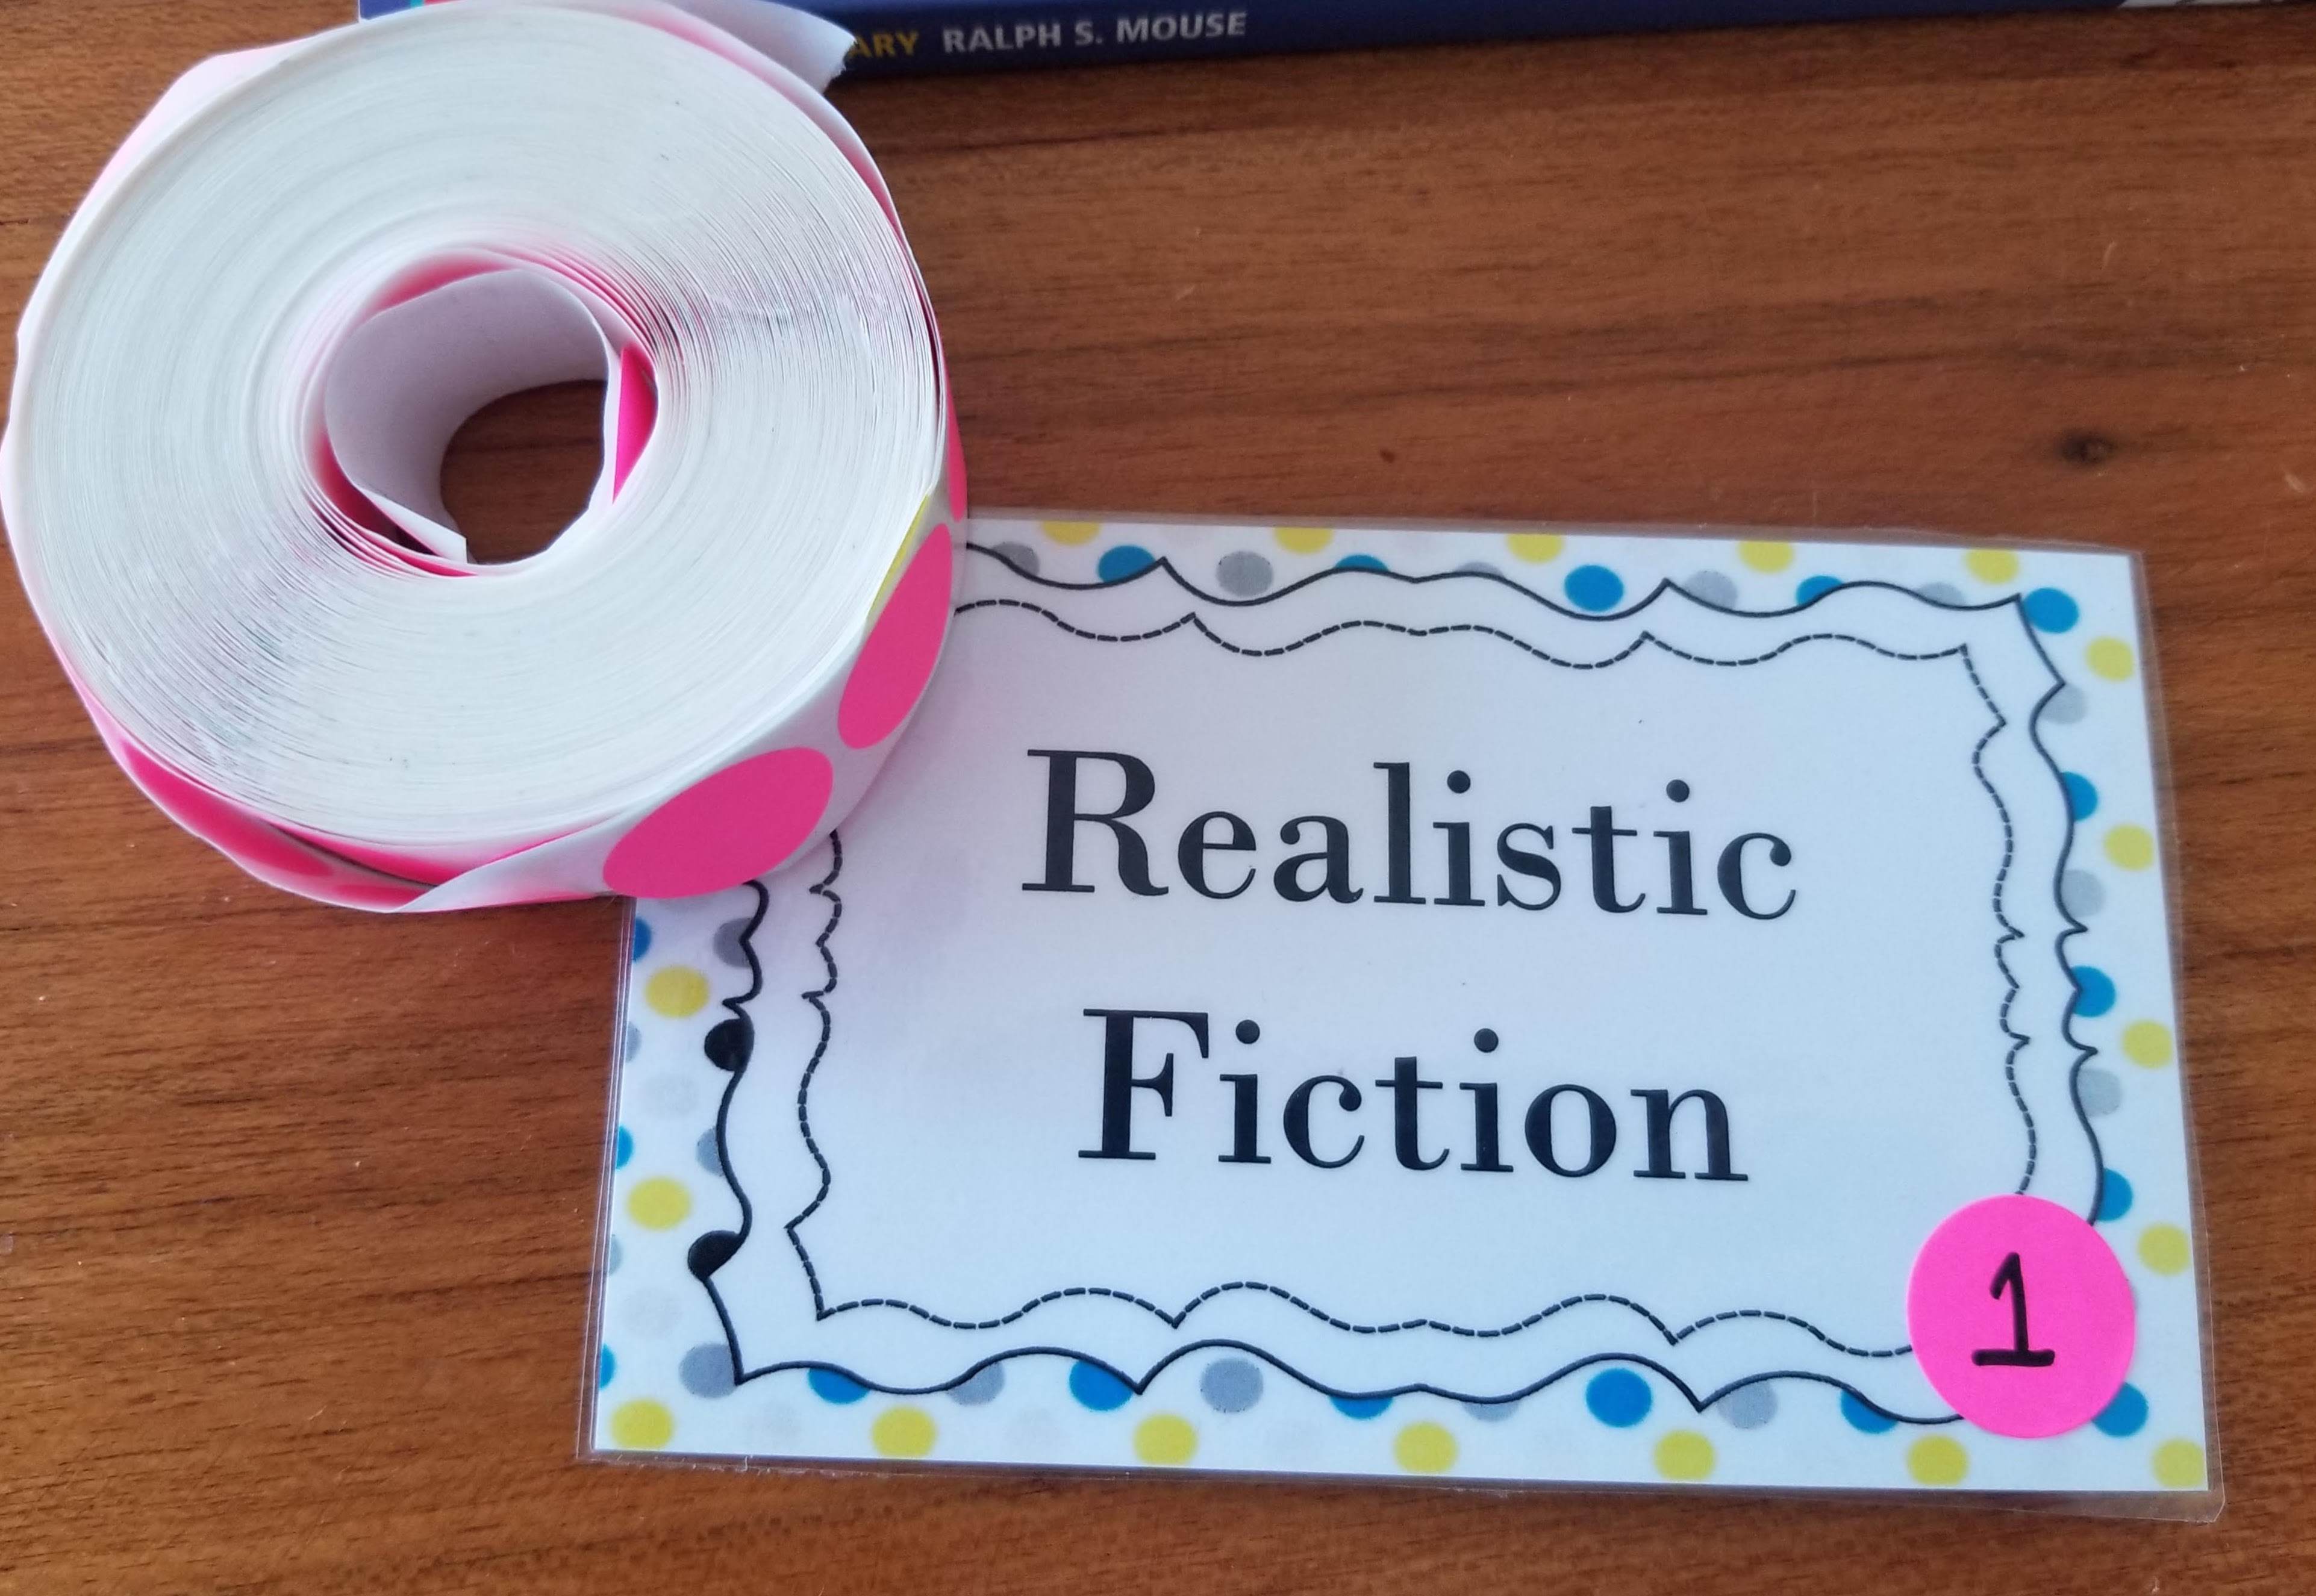
2. Add a basket number to the book label if needed. For example, I have two baskets of realistic fiction. So I wrote a “1” on all of the stickers of the books in the first realistic fiction basket, a “2” on all the stickers of the books in the second basket and so on. You’ll put a matching sticker on all of the basket labels. That way, all you have to do is match each book’s label to its basket and they will get back to the same basket, all year long.
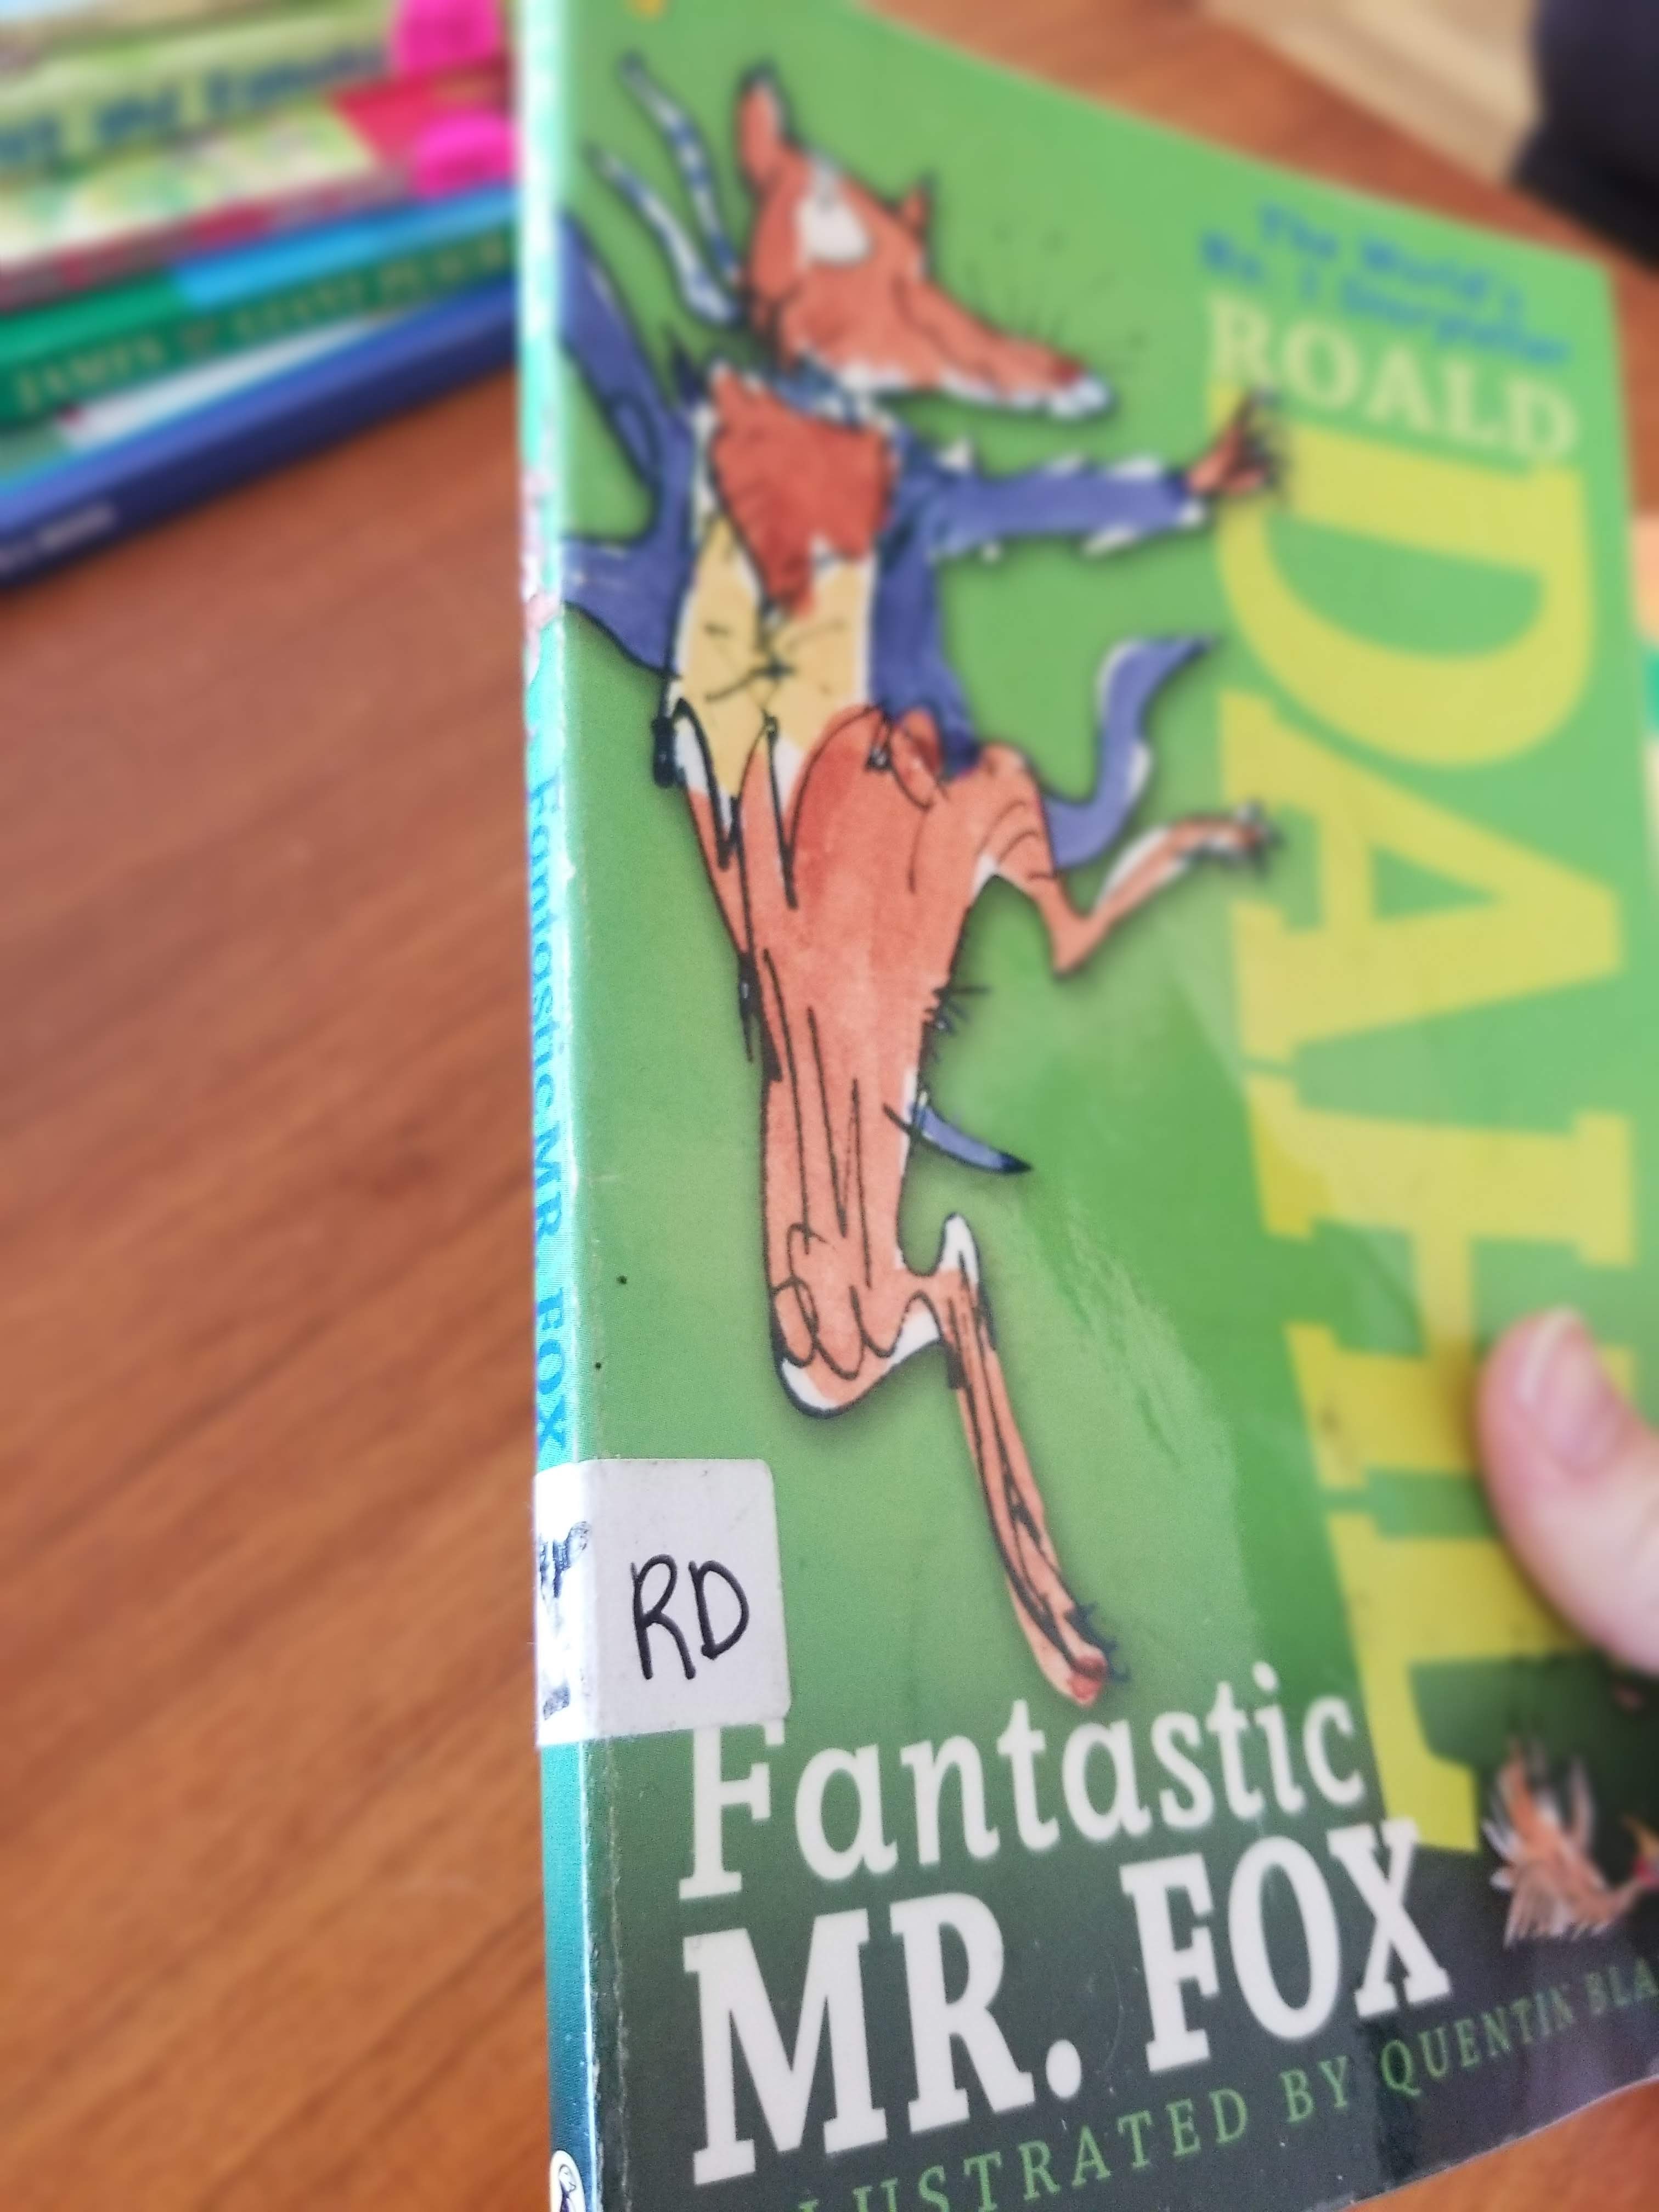
3. For authors or series collections, come up with an acronym and add that to each book label. For instance, I wrote “BC” on Bevery Cleary books and “RD” on Roald Dahl books. For Chronicles of Narnia books, I added a “CoN”.
4. Prepare your basket labels.
- Create a label for each basket and author/series collection. See “Supplies” section below for ideas on what to use. If you have two realistic fiction baskets, you’ll need two realistic fiction labels. Be sure to print a label for the author collections and any that are staying outside of the baskets (like dictionaries and thesauruses), if you have those.
- Add the appropriate book label sticker to each one. At first, I put the sticker in the upper left corner, but then I realized that the way they fit on the basket, the sticker wouldn’t be visible. Make sure the sticker is visible. This is the key to keeping your library organized throughout the year!
- Laminate the basket labels. The stickers did just fine going through the laminator, except for yellow…it looked a little burned. Oh well.
- Attach labels to baskets/shelves. I used a couple of strips of packing tape to put the labels on the baskets. For the authors/series collections that were going to stand alone on shelves, I used electrical tape so it wouldn’t leave too much residue on the wood.
Place everything on shelves and teach students how to use this system
You might have to experiment to figure out the spacing, but this is the easy part! Now that you’ve labeled everything, make sure all the book labels match their basket labels and explain to your students how to match the labels so that they can reshelve any books they’re done with. This is critical: I guarantee you, if you do not explain the system, the majority of them won’t take the initiative to figure it out on their own. Go over the classroom library system while you’re teaching procedures and routines at the beginning of the year and review when necessary.
I hope this post gives you some ideas of how you can organize your library into a manageable system. I’d love to hear your thoughts in the comments! Also, if you’re interested, I put the supplies I used in a separate section down below.
Happy Teaching!
Supplies I Used
Book Labels
I used 3/4″ round labels for most of the books – like the kind you’d use on items at a garage sale. I used these mainly because they were a hand-me-down from another teacher-friend. I haven’t been able to find a place that sells this many different colors in rolls online, though I have found some that sells them in sheets. If you know of a place, please comment below! You could also choose to use a different kind of sticker label. For instance, I also printed some Avery 5195 labels for the animal, action/adventure, and “other informational” genres.
Basket labels
Note: This presupposes you have baskets. When I moved into my current classroom, there was already a collection of matching blue baskets (see pictures at top of post). They’re wide enough that I can fit two stacks of regular-sized chapter books in each one, side-by-side. I would recommend that, whatever baskets you use, most books can fit so the cover is visible, not the binding. It truly makes your bookshelves more welcoming to your students.
I’m not a huge theme person when it comes to classroom decor. However, I like it if I have a general color scheme that makes me feel calm and productive. So I went ahead and created my book labels from the Editable Teal/Turquoise, Gray, and Yellow Classroom Theme labels I had bought previously from TeachersPayTeachers. It’s simply an editable PowerPoint file that lets me type in whatever I want the label to say. I’ve also adjusted the size of the labels depending on their intended use. Use whatever labels you already use in your classroom, or create a simple design in PowerPoint. It doesn’t have to be super cutesy; it just has to be clear. Also, you might have to play with the size to get them to fit well onto your baskets, so print a test sheet before you print them all.
Customized Stamp
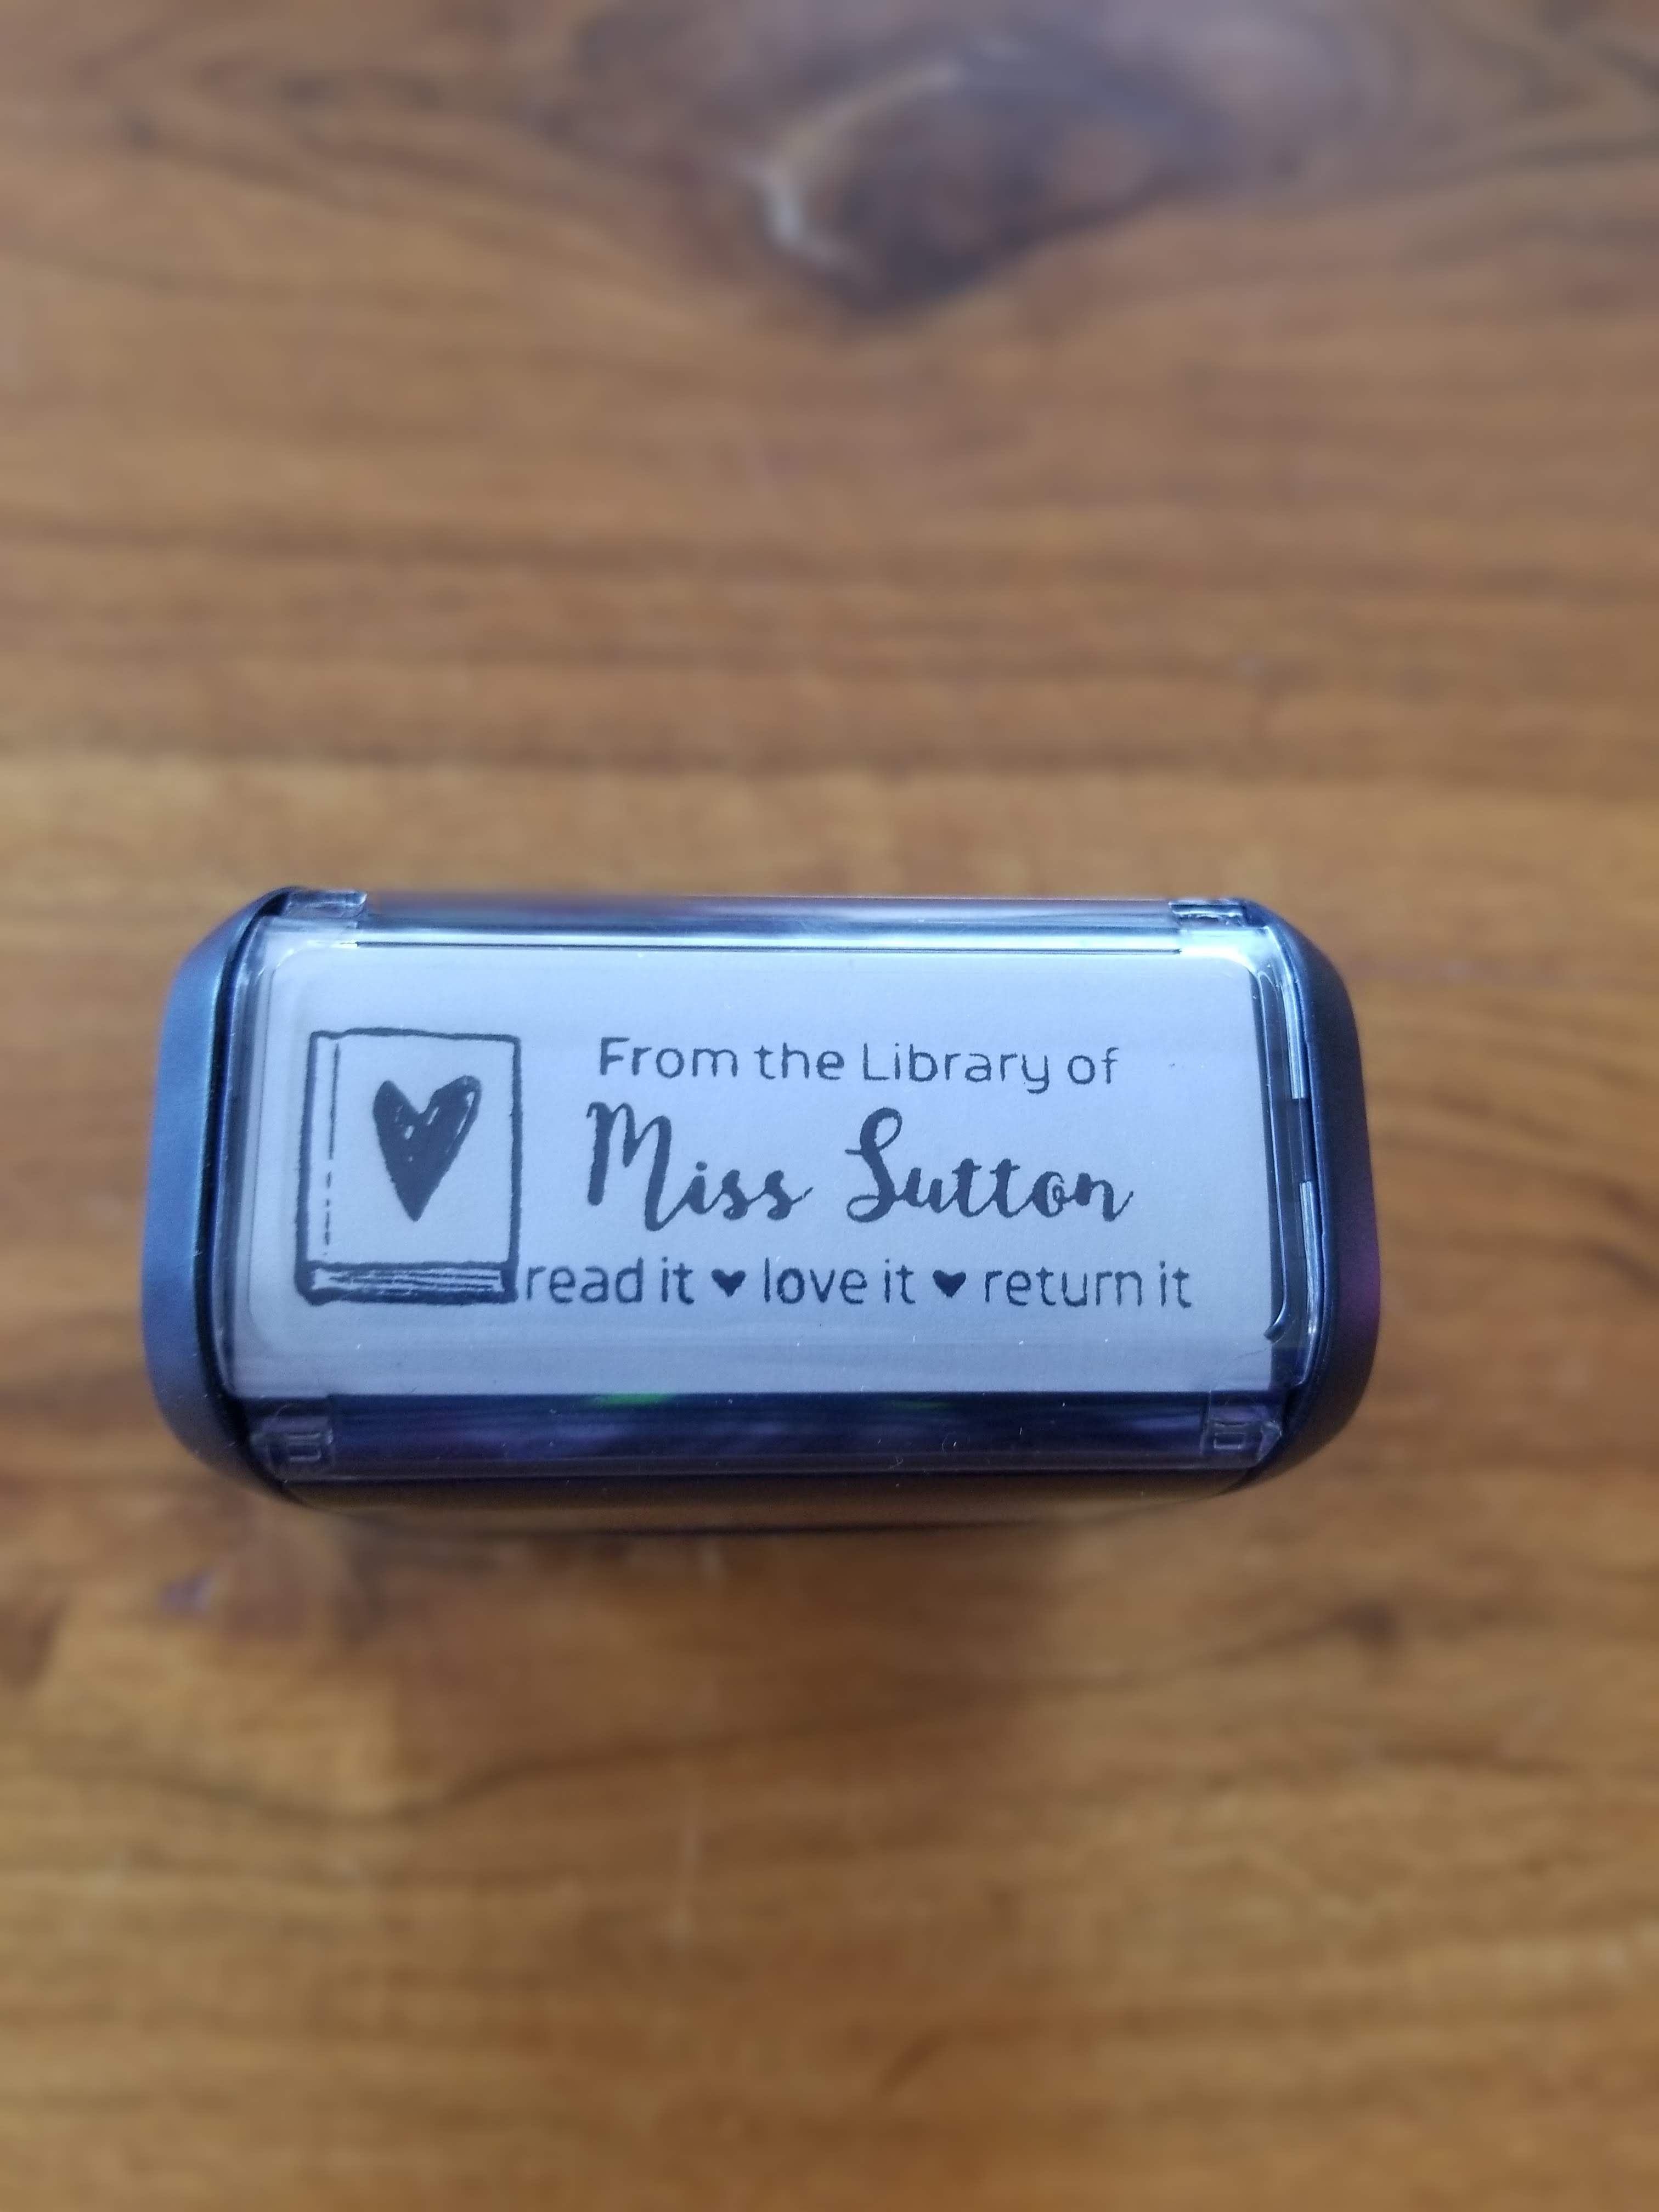
This was a suggestion from The Book Whisperer that I’m glad I followed. I bought this adorable customized stamp from 904Custom.com. It cost $17.95 at full price at the time I purchased it, but at they often have back-to-school sales for teachers. Between that and the book labels, it helps everyone – including the school librarian – to recognize where your books belong. Plus, how fun is this stamp??
Tape
I used three kinds of tape:
- Scotch tape to help any wayward book stickers stay on
- Packing tape to attach the basket labels to baskets
- Electrical tape to attach the series/author collection labels to the bookshelves.

Leave a comment